AirPods How To Stop Automatic Pausing By Disabling Ear Detection
AirPods: How To Stop Automatic Pausing By Disabling Ear Detection
Contents
Making a settings adjustment will turn off ear detection and ensure the music doesn’t automatically stop when a wearer removes one or both AirPods.
You Are Reading :[thien_display_title]

Whether a person is using AirPods to listen to a podcast or to enjoy Björk’s music, Apple’s automatic pausing will not interrupt the experience if ear detection has been disabled. Changing the detection settings is relatively simple, and yet another example of how AirPods are designed with quality and function to perform better than standard wired headphones.
New iPhone models still support wired headphones although they do need to be plugged into into the charging port. As a result, iPhone owners cannot use headphones while charging the iPhone, unless they purchases a wireless pair. This is why after removing the headphone jack in 2016, Apple introduced its wireless earbuds, AirPods. The tech company proved its ability to innovate further by releasing the AirPods Pro, with noise-canceling technology and moisture resistance, along with a safety feature that lets owners hear outside noise.
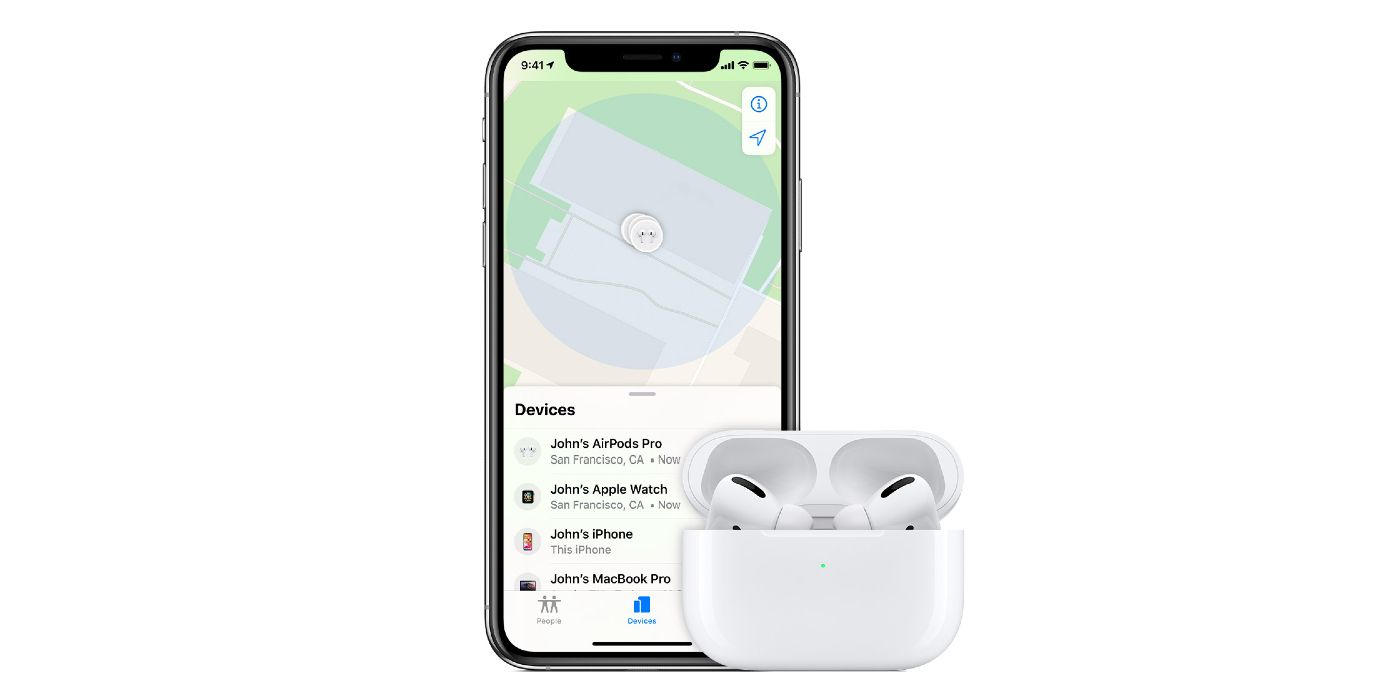
Automatic Ear Detection works by playing or pausing audio, depending on whether the user is wearing the earbuds at the time. In its support documents, Apple explains the feature can be disabled manually to prevent the audio from pausing when AirPods are removed from the ears. To make the change, open the case for the wireless earbuds and then open the settings section on the connected iPhone. From here, tap on the Bluetooth tab where a variety of devices will be listed, including the connected AirPods. Tapping on the small blue “i” icon will open an additional menu, allowing the user to make changes, including disabling Automatic Ear Detection.
It Will Not Be Oh So Quiet
This menu includes a bevy of options – but not limited to — the ability to rename the AirPods, changing how the sensor works, and automatic ear detection. Tapping the automatic ear detection section and changing the setting will completely turn the function off. Testing to make sure the process worked is also very simple, as a user can put their AirPods back in their ears and play their favorite song. If all is working as expected, the song will continue to play, even when the person removes at least one of the AirPods.
The benefits of turning this function off include having an ear free in case someone needs support. This could also be useful if a person wants light background music to play while they are engaging another individual in a casual conversation or doing a small task in a setting where they need to be audibly aware of their surroundings. However, one of the downsides of disabling Automatic Ear Detection is that the battery is likely to deplete even quicker, as the earbuds will now only stop playing when manually instructed. That said, Apple has designed the feature so that it is easy enough to be enabled and disabled as often as is needed.
Link Source : https://screenrant.com/apple-airpods-disable-automatic-ear-detection-how/
Reviews -15 Most Hilarious Quotes From Forgetting Sarah Marshall
10 Little Known Facts About Sirius Black
90 Day Fiancé Cast Members With The Best & Worst Friends
90 Day Fiancé Varya Deletes IG After Geoffrey Paschel’s Guilty Verdict
Apocalypse Now Video Game Being Developed by Francis Ford Coppola
10 Most Adorable Anthropomorphic Animals In Anime Ranked
10 Legend Of Korra Characters Whose Names Have An Actual Meaning
