Dark Souls 3 How to Improve Estus
Dark Souls 3: How to Improve Estus
Contents
Estus is the main source of healing in Dark Souls 3. By empowering and gaining more flasks, players will be able to last longer against grueling foes.
You Are Reading :[thien_display_title]

In Dark Souls 3 players can make their existing estus healing much more potent and even create additional flasks. This will provide more recovery when dealing with long dungeons and harder bosses. However, drinking estus mid-battle can be rather slow, making it a little dangerous if one gets too indulgent.
Dark Souls 3 includes two types of estus – the classic version that restores HP, and the newer ashen estus that instead recovers FP. The latter is a great option for heavy spell casters, though it may be overkill for those that use magic sparingly or only rely on weapon arts. In those cases, a weapon with Simple Infusion will recover FP over time.
Estus improvement affects a character’s entire career, both the first playthrough of Dark Souls 3 and any subsequent New Game Plus. Players can have the ultimate estus collection in their first go, or take multiple playthroughs to get all 15 flasks and power ups. However, this is never considered for online match-making between hosts, summoned phantoms, or hostile invaders. This means it is possible for seemingly endless healing co-op and enemy players to show up online if they just kept their level and weapon upgrades low.
Estus Shards in Dark Souls 3

Players start with four estus in Dark Souls 3, three regular, and one ashen estus for FP. More can be created by finding shards and delivering them to the blacksmith Andre. Note that when summoned as a phantom or invader, the amount of starting estus is halved and rounded down. This means one might have zero estus if they didn’t carry at least two of one kind. The shards are in the following locations-
- Firelink Shrine: buy the Tower Key from the Shrine Handmaid for 20,000 souls. Head up the tower, drop down the left side of the bridge, and into the building to find Pickle Pee. The shard will be on the ledge near their nest.
- Tower on the Wall (High Wall of Lothric): head down to the middle of the tower, across the roof, and head into the building on the left. Defeat a group of troops and dogs to loot the shard from an anvil.
- Undead Settlement: the shard is right at the base of the burning tree. It is heavily guarded by Hollow Peasants, so kill everyone or grab the shard and run.
- Crucifixion Woods (Road of Sacrifices): head to the left, past the summon sign to fight Hodrick, kill the four Lycanthrope Hunters, and drop down the ledge. The shard will be slightly to the left.
- Farron Keep (Road of Sacrifices): from the bonfire, run straight forward and slightly to the left to find an archway. Pass under it and slay the slugs guarding the shard.
- Cleansing Chapel (Cathedral of the Deep): after exiting the chapel, it will be directly on the path towards the cemetery.

- Old King’s Antechamber (Smoldering Lake): head forward and to the right and break the illusionary wall. Head down this new passage and to the left will be a long hall guarded by many Rotten Flesh blobs. Shoot them down or run past them to find the shard.
- Irithyll Dungeon: after killing the first three Peasant Hollows in Dark Souls 3, one will find a Mimic just to the right. Safely kill it or put it to sleep with Undead Hunter Charm. Either will yield the shard.
- Aldrich (Irithyll of the Boreal Valley): exit the boss room after the fight and hug the right side wall. The shard will be inside the lone chest surrounded by Rotten Flesh.
- Lothric Castle: go directly forward until coming to an elevator guarded by a Cathedral Knight. While on the elevator, keep moving forward to come to the middle landing. From there, head right for the shard.
- Grand Archives (Lothric Castle): ride the elevator up towards the boss encounter with the Twin Princes. However, head up the spiral staircase to the left of the building one just exited. Circle around the roof to find the shard in the far northern circumference.
Undead Bone Shards in Dark Souls 3

Undead Bone Shards strengthen the power of each individual estus flask inside Dark Souls 3. An Undead Bone Shard must be burned at the Firelink Shrine bonfire, but will affect all other bonfires across Dark Souls 3. There are ten shards total, that when all are used will bring the healing rate from the base 250 to 600. The Undead Bone Shards are located near the following bonfires.
- Dilapidated Bridge (Undead Settlement): run forward to the white birch tree. Turn to the right, and make a running jump to the broken platform. This is best done after making peace with the giant archer, so he doesn’t attack players making the leap. He will also already be friendly if one picked the Young White Birch starting item.
- Cleansing Chapel (Cathedral of the Deep): progress full through the cemetery, across the broken bridge, and up towards the chapel proper. Kill the Grave Warden that approaches, and then the down the steps on the right to another white birch tree. Head to the left for the shard.
- Keep Ruins (Road of Sacrifices): go down the incline ahead and to the right. Inside a tower will be the shard guarded by many slugs.
- Abyss Watchers (Road of Sacrifices): from the boss room, head down into the next zone, Catacombs of Carthus. Head to the right corner and drop down the series of platforms. Quickly duck into the hall on the left and immediately kill the mage skeleton wearing a black hat. If he runs away, one will need to chase him further through the level. With this enemy dead, wait for the Skeleton Ball to slam against the wall, destroying it a leaving a shard behind.
- Demon Ruins (Smoldering Lake): make sure that the archery turret is still on – if players have disabled it they will need to climb back up the hill and push the crank again. Now, approach the Old Demon King boss door, but hide behind the small hill behind the Sandworm. In an attempt to attack players, the archery turret will kill the gargantuan Sandworm, which drops the shard.
- Old King’s Antechamber (Smoldering Lake): break the same illusionary wall mentioned for the Estus Flask Shard. However, instead of going left, continue forward and drop down. Kill the two Smoldering Ghru, and head down to the right of the hall. Look up and shoot down the Rotten Flesh so that it doesn’t attack, and then grab the shard from where it lands.
- Church of Yorshka (Irithyll of the Boreal Valley): head down into the cemetery, turn to the right, and defeat the Corvian hunched by a grave. The shard is behind the tombstone. Additionally, if players are still pursuing Sirris of the Sunless Realms’ questline, they may be ambushed by Creighton the Wanderer. If so, kill him before getting too close to the Corvian.
- Profaned Capital (Irithyll Dungeon): the shard is resting right on top of the corpse of Laddersmith Gilligan from Dark Souls 2.
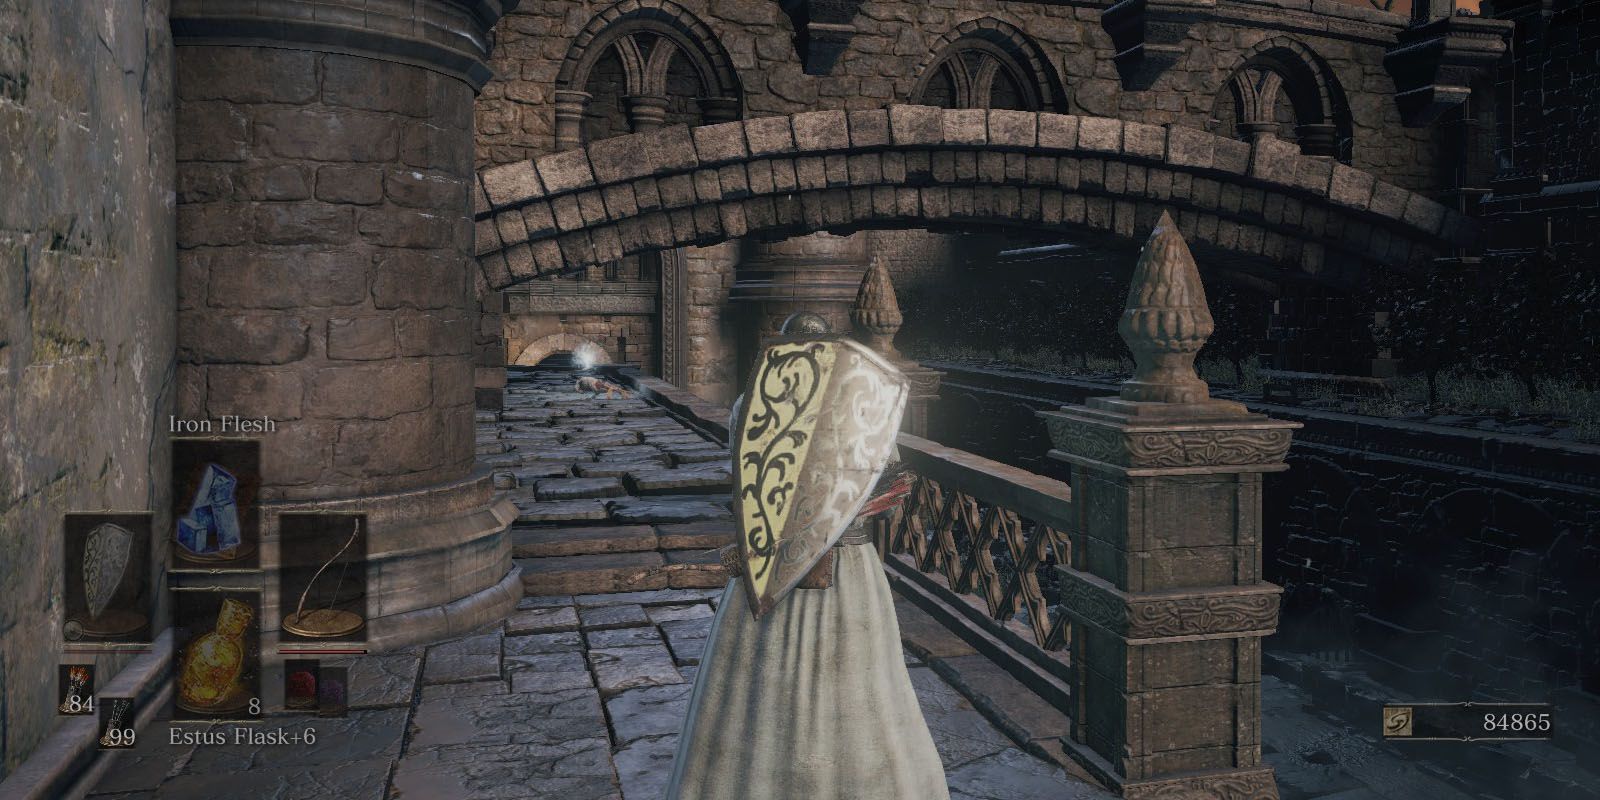
- Dragon Barracks (Lothric Castle): approach the two fire-breathing dragons guarding the gate, but at the end of the bridge drop-down to the left. Turn the camera around 180 degrees and the shard will be directly behind the Ashen One.
- Grand Archives (Lothric Castle): from the bonfire, head right through the bookshelves and up the elevator, into a room guarded by several Grand Archive Scholars. Head up to the next small alcove, up the ladder, and across the roofs. Players will eventually come through a window, and back to the upper banisters of the previous room. The shard will be on a corpse sitting in a chair.
Link Source : https://screenrant.com/dark-souls-3-improve-estus-guide/
Movies -Downton Abbey A New Era Trailer Teases Maggie Smiths Mysterious Past
Brooklyn NineNine 10 Moments That Prove Raymond Holt & Kevin Cozner Are Couple Goals
Drake And Josh What The Cast Looked Like In The First Episode Vs Now
Beverly Hills 90210 10 Most Hated Supporting Characters
Dawsons Creek 10 Things About Dawson That Would Never Fly Today
DCs Version of Thanos Proves Darkseid Will Always Be Stronger
Coming 2 America Ruins The Original’s Randy Watson Joke
